A while back I posted the tutorial about linking your Instagram to your Facebook – I had needed an un-linked set of accounts so I could show that. In order to do that, I needed to create a facebook business page for my Princess Katie’s Ponies (feel free to laugh. 😉 ) and I figured, why not film the process and make it an additional tutorial?
This process is so simple.
I created a video which you can watch down below, or keep scrolling for picture-by-picture steps.
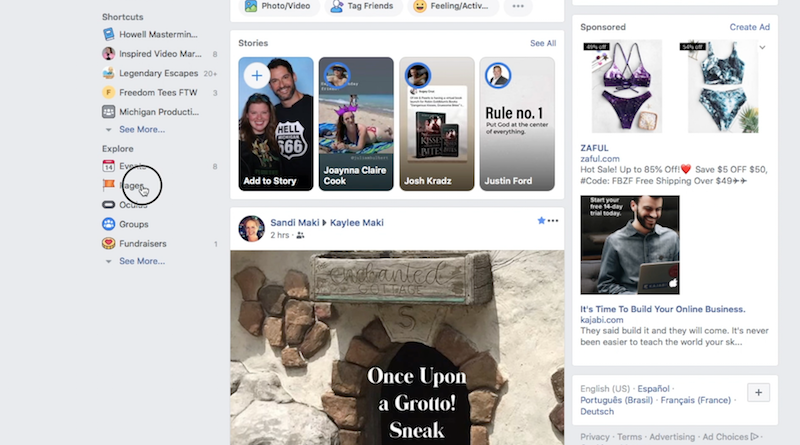
Step 1: Click “Pages” on the left side of your Facebook News Feed
There are a lot of ways to get to creating a new page. But this is pretty easy and straight forward.
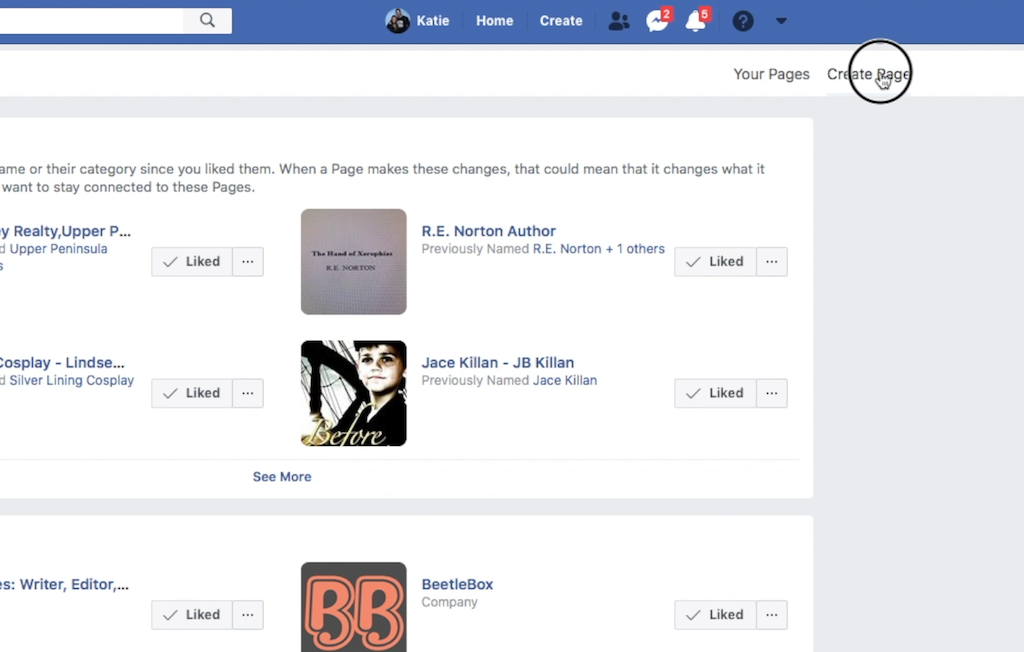
Step 2 : In the upper left hand corner, click “Create Page”
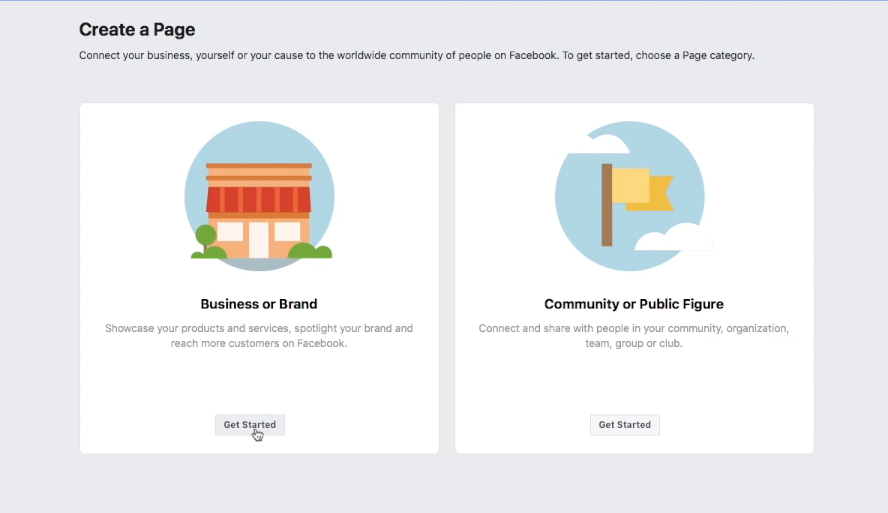
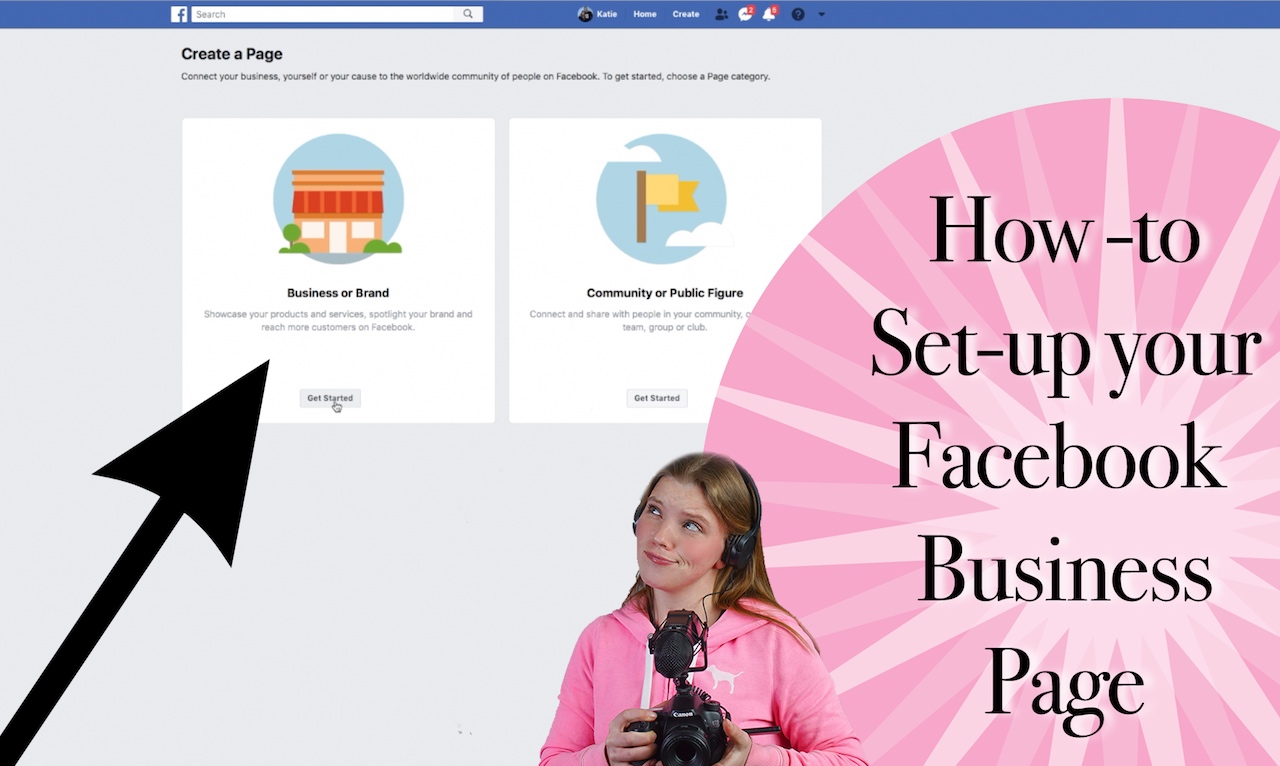
Step 3 : Decide if you are a Business/Brand or Community Figure
Are you selling something? A product? A service? Virtual or Brick-and-mortar – you are a Business.
If you are a politician, an activist, an influencer a person with a cause/message over anything else, you are a Public Figure.
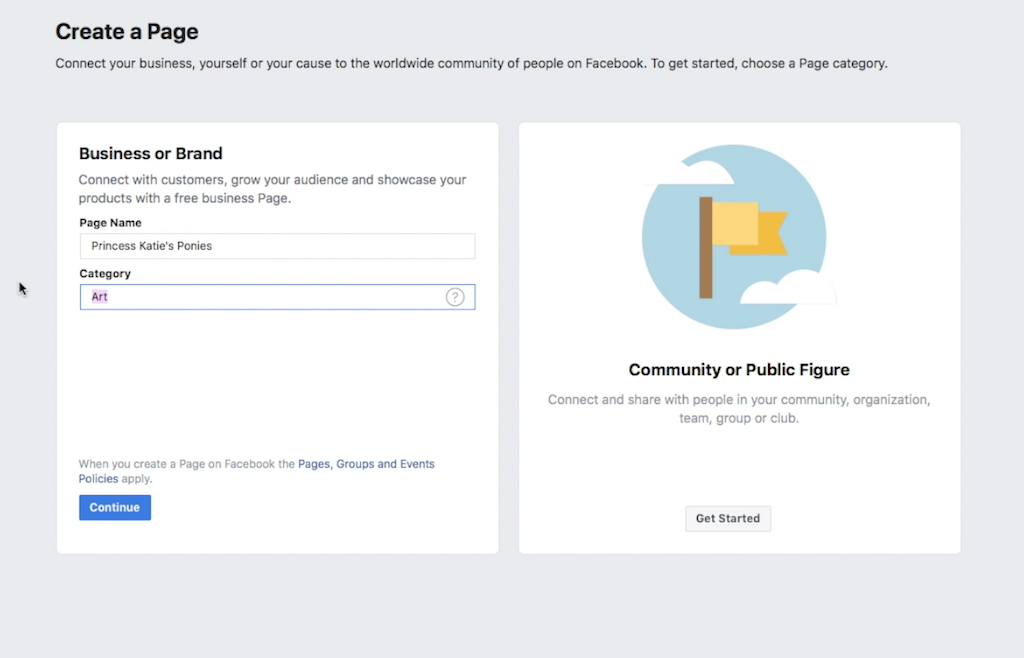
Step 4: Fill out your Name and Category
Step 5 : Upload a Profile Picture
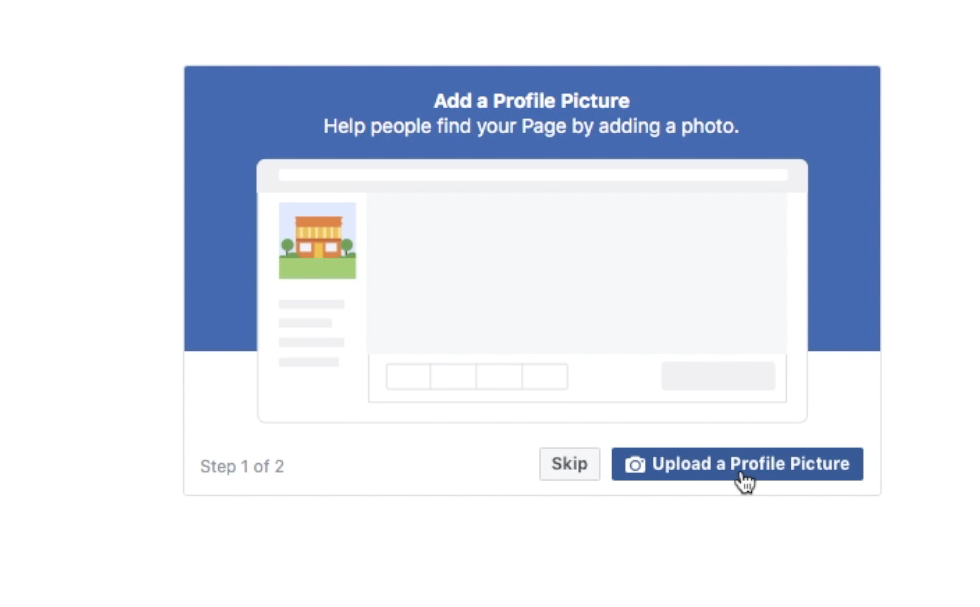
You want your profile picture and your banner (below) to represent your brand. You can use your logo, although I have heard that photos of yourself (if your brand is mostly you) work better. People bond with people.
It’s not critical that you have THE PERFECT photos for your profile picture and banner. You can ALWAYS change or update them. But you do want SOMETHING at least to begin with.
If you are trying to minimize your efforts and want to keep what you upload for a long time, aim to post photos that feature your brand’s colors and/or fonts, are not cluttered and have limited text.
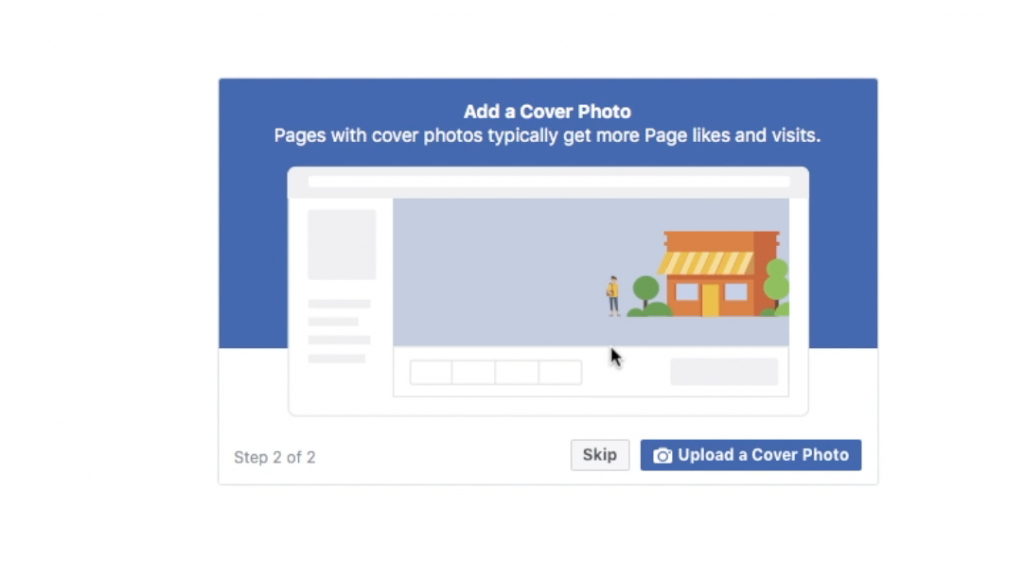
Step 6 : Upload a Cover Photo
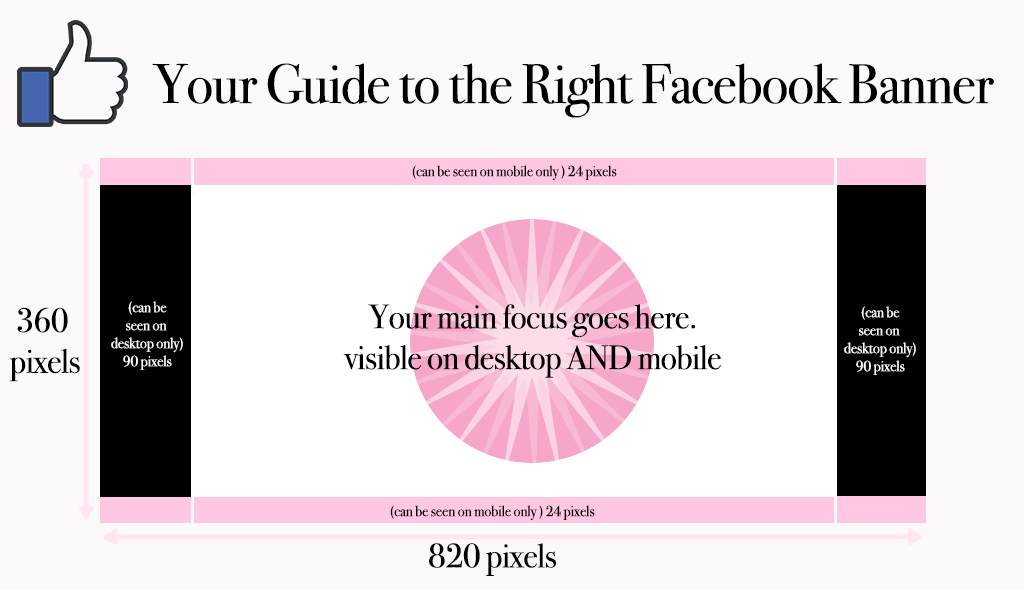
In the video above, I quoted a specific size for the facebook banner and I cannot remember where I found that number, but it was wrong. So instead, I researched (aka plugged into Google and picked the first entry) and found updated info.
This Snappa website was very helpful as was their blog on the “Perfect Facebook Cover Photo“.
I took one of their helpful photos and tweaked it, making it “Inspired” and hopefully it should help you as you create a facebook banner for your page.
Step 7: Invite People to “Like” your page
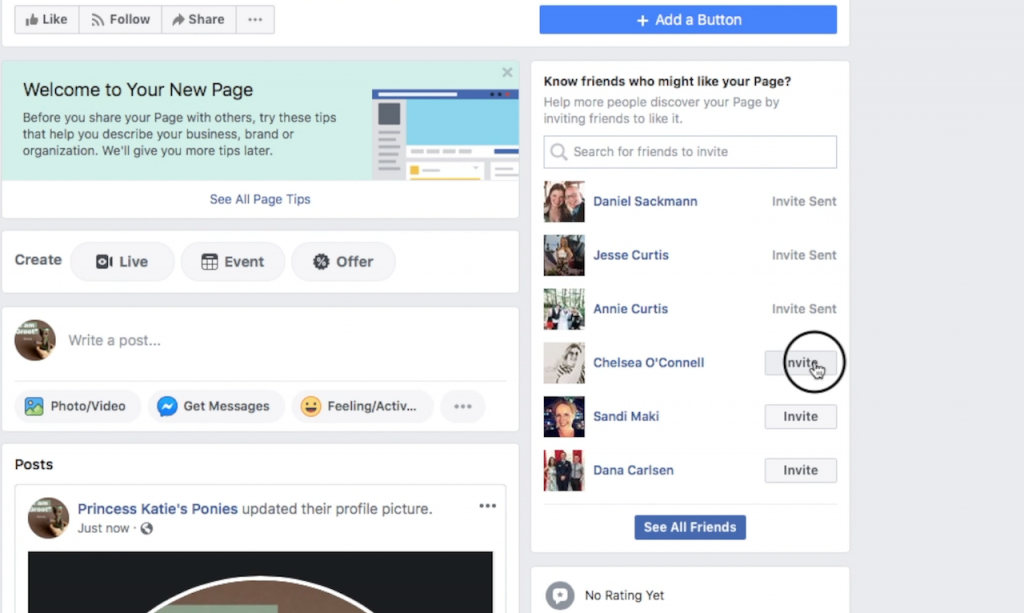
Don’t be shy! The people you invite can always decline your request. But if you don’t ask anyone, it’s possible they will never know you created this page.
As humans, we think people pay a lot more attention to us that they actually do. (Google : “The Spotlight Effect”)
They don’t.
Invite people you’re friends with whom you think would benefit from what you’re going to share, or at least the people you believe will support you in this endeavor.
OR, ignore that and invite everybody!
Don’t worry about “spamming” them. One invite to “like” is not spam.
But if you don’t ask, you don’t get.
Step 8: Create a “Username”
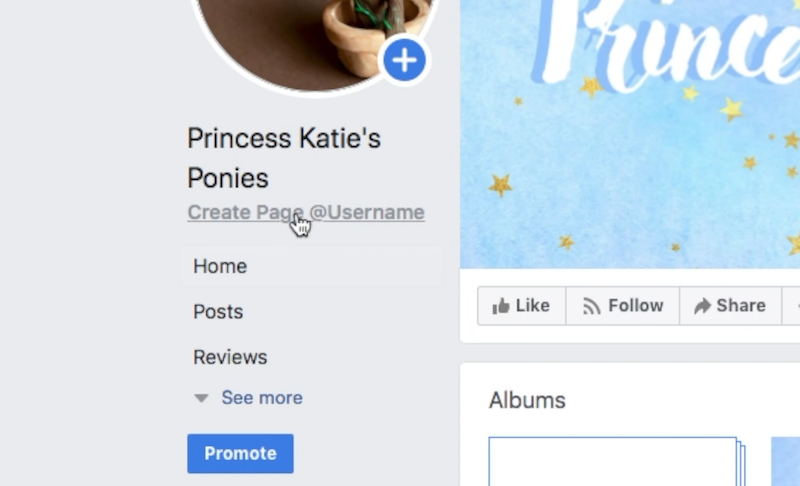
This can be your business name, or if that’s not available, something memorable in regards to your business.
If you go to share your Facebook link with someone, what you choose for your username will be in it. Example: https://www.facebook.com/MyUsernameHere.
Doing this, creating a username, helps with your brand consistency and looks much better on a business card than some very random characters that are easily mis-typed into the computer.
Step 9: Start posting!
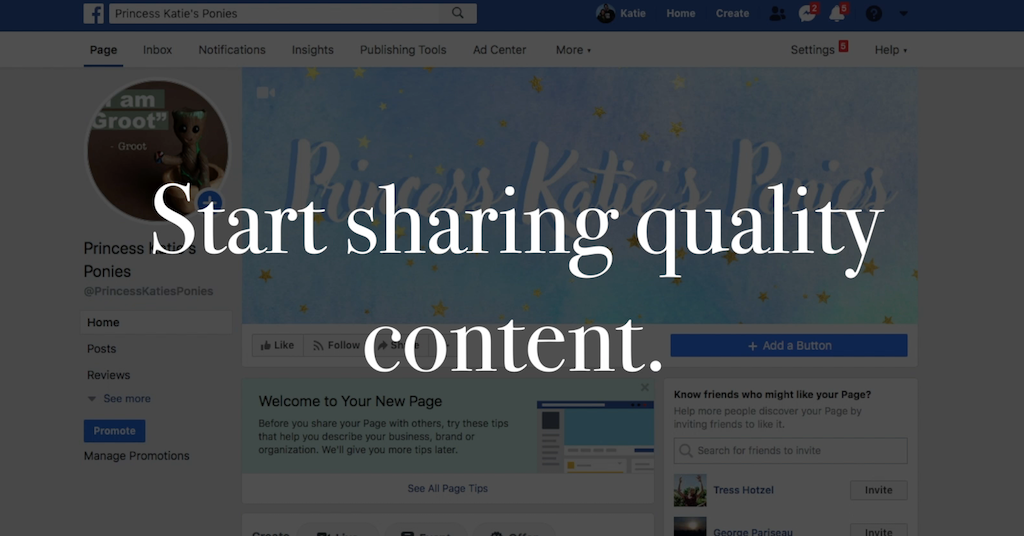
Now that you’ve created your Facebook Business Page, there is plenty more to learn and you can get lost in the rabbit-hole of just exactly what you should do, what you should post, how do you get more followers, how do you get engagement, etc etc etc.
First things first, just start sharing good stuff.
As you go, you can slowly learn, bit-by-bit, what is good, what your audience likes, and who your audience even is.
That’s it!
Play around, watch some more tutorials and start sharing.
Share what you share on your business page to your personal page as well for more reach.
Have an inspired day!



Leave a Reply